So, you’ve successfully cultivated your own sourdough starter. Congratulations! It’s an exciting milestone for any bread baker. However, the journey doesn’t end there. Maintaining an active starter is crucial if you want to keep baking delicious bread.
In this blog post, we’ll explore how to care and maintain your sourdough starter, from feeding schedules to troubleshooting.
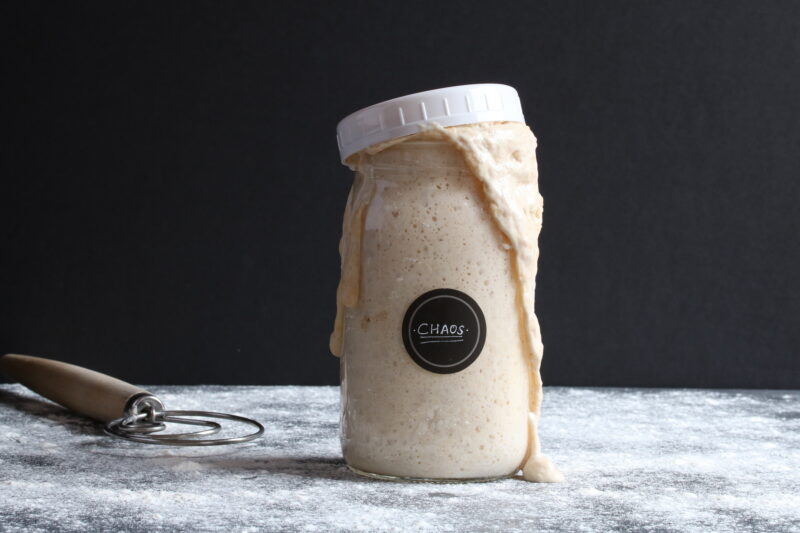
Feeding Your Starter
The very first thing you need to understand about a starter is how to feed it. What do you feed it and how often? Let’s dive in!
Type Of Flour For Feeding
The type of flour you feed your sourdough starter matters. Each flour variety is unique, with diverse nutrients and minerals that can influence your starter’s character. If you frequently change flours, you’re altering the food source for your starter’s microbiome, which can lead to instability and unpredictable results in your baking.
Therefore, it’s recommended to consistently use the same type of flour to feed your starter. This promotes a stable, healthy microbiome and ensures your baking is consistent. If you wish to switch flour types, do so gradually across several feedings to allow your starter to adjust smoothly. Consistency is the key to a well-maintained sourdough starter and successful sourdough baking.
Use the same high-quality flour every time. But how much do you use? You’ll find that information in the feeding ratios.
Feeding Ratios
The typical 1:1:1 feeding ratio for sourdough starter – equal parts of starter, flour, and water – is what most people used to follow, but it isn’t a fixed rule. In fact, more people are discovering that it’s not necessary.
In my experience, reducing the amount of mature starter to as little as two tablespoons during feeding can lessen the sourness in your final baked goods. This is because a smaller amount of mature starter dilutes the acid concentration, leading to a milder flavor.
Besides impacting flavor, using less mature starter also makes your sourdough routine more sustainable and flour-efficient. So, remember that maintaining your sourdough starter isn’t a rigid process. Feel free to adjust the feeding schedule and ratios to suit your taste preferences and baking needs. It’s about understanding your unique starter and making it work for you.
Now that you know the best type of flour and how much of it to feed your starter, how often should you feed it? This depends on how quickly you’ll bake bread with it.
Daily Feeding
Feed and discard your starter once a day only if you store it at room temperature. Otherwise, you can store it in the fridge for a longer period of time (and feed it less frequently).
This is because the yeast and bacteria in the starter consume the nutrients in the flour and water and produce carbon dioxide and alcohol, which causes the starter to rise and bubble. If you don’t feed your starter, it will eventually run out of nutrients and become inactive.
For a newly established starter (young starter) I recommend keeping it at room temp and discarding/feeding it once daily for the first 3-4 weeks, this will help strengthen the starter for the long run.
Once A Week
If you don’t plan on baking with your starter for a while, you can store it in the fridge for up to several weeks. However, I recommend that you feed it at least once a week to keep it strong and active.
To do this, remove your starter from the fridge, let it come to room temperature, discard if you have more than 2 tbs and then feed it with 40 grams flour and 40 grams water. Let it activate for a few hours before returning it to the fridge.
Remember, always follow the recipe first. The 40 grams above is only if you’re not following a specific recipe. For example, if you’re baking a loaf of bread and the recipe calls for 100 grams of starter, you’ll feed it 50 grams of flour and 50 grams water.
It’s important not to store your starter in an airtight container, as the gas produced during fermentation needs to escape.
You fed your starter and you’re ready to use it! Let’s look at the best way to incorporate sourdough starter into your loaf of bread.
Using Your Starter
When you’re ready to use your starter, remove it from the fridge and let it come to room temperature. If you’re in a hurry, you can feed your starter with warm water to bring down its temperature. It’s essential to use the same flour every time you feed your starter to maintain its consistency.
To use your starter for baking, you’ll need to feed it 6-8 hours before you plan on baking. You’ll only need 1-2 tablespoons of your old starter to feed the amount you need for baking. For example, if your recipe calls for 200g of starter, you’ll need to have 1-2 tablespoons of starter in your jar and add 100g flour and 100g water. Let your starter sit for a few hours until it becomes bubbly and active before using it in your recipe.
That’s it! See? Making, feeding, and using a starter is actually pretty simple when you get down to it.
The more you bake with starter, the more you’ll realize that there are actually five simple cycles to starter that you’ll repeat every time.
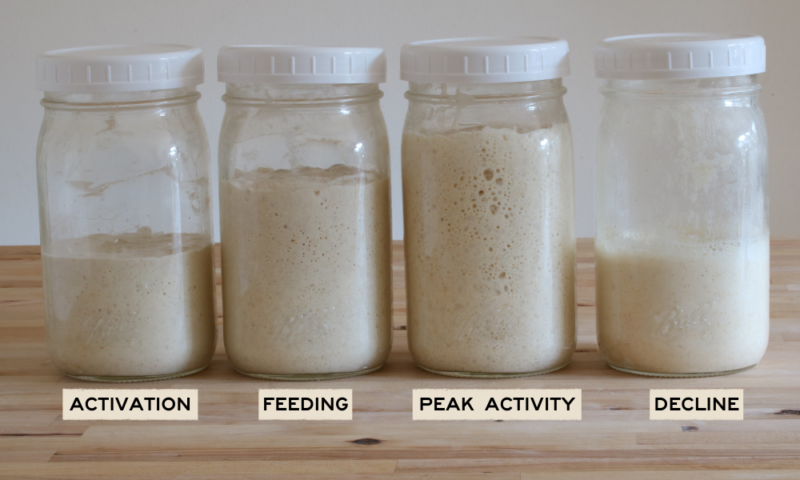
Sourdough Starter Cycle
The beauty of sourdough is the dependability of it. Starter goes through five simple cycles. Once you understand them, it will be so much easier to troubleshoot any issues you run into.
1. Feeding
The cycle begins when you feed your starter with fresh flour and water. This is the time when the starter is at its lowest activity, right after it has been fed.
2. Activation
Over the next few hours, the yeasts and bacteria in the starter will begin to consume the sugars in the flour. This is a process known as fermentation. As they feed, they produce carbon dioxide gas and ethanol, which cause the starter to rise and bubble. This phase usually peaks around 4-6 hours after feeding, depending on the temperature and the specific microbes in your starter.
3. Peak Activity
This is when your starter is most active and is typically the best time to use it for baking bread if you want your bread to rise. The starter will have doubled or even tripled in size, and it will be full of bubbles. This phase usually occurs 6-8 hours after feeding, but it can vary based on the temperature and the specific strains of yeast and bacteria in your starter.
4. Decline
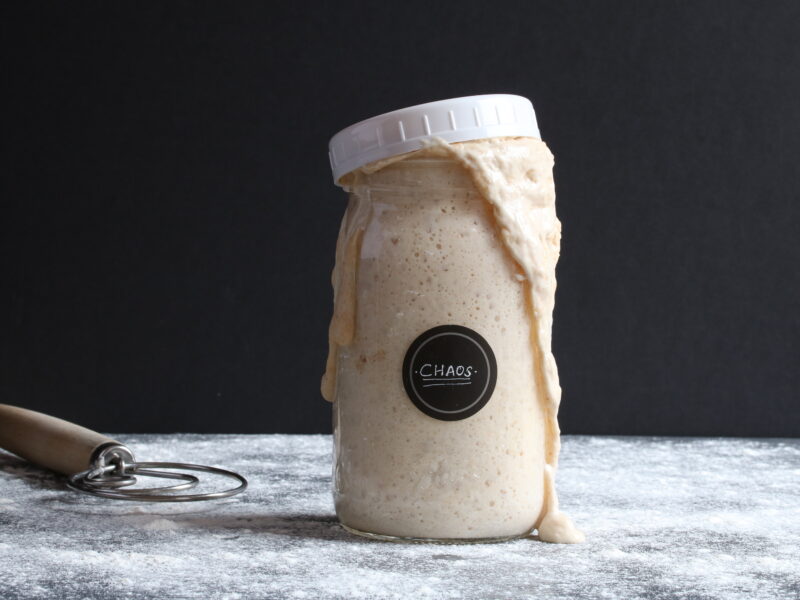
After reaching its peak, the activity in the starter will start to decline. This happens because the yeast and bacteria have consumed most of the sugars in the flour. As the food resources dwindle, the microorganisms slow their activity, producing less gas, and the starter begins to fall. At this stage the starter will have a liquid consistency.
Once it starts to decline and fall down (and have that runny look) you cannot use it in dough that needs to rise. You can only use it in pancakes or crackers or things that don’t need to rise.
5. Dormancy
If the starter isn’t fed again, it will eventually enter a state of dormancy. The yeast and bacteria aren’t dead, but their activity is greatly reduced. During this time, a liquid known as “hooch” may form on the surface of the starter. This is a form of alcohol produced by the yeast and is a sign that your starter needs to be fed.
If you want to switch your starter entirely to a different flour for instance you have a starter with bread flour and you want spelt you may switch the flour as long as y ou will feed that flour consistently going forward. Keep in mind the first few feedings your starter might act differently (not rise as fast etc..) until it gets used to the new food.
Sourdough Starter Health
How do you know when your starter is healthy or whether you need to throw it away and start over?
Your eyes and nose are the most reliable tools you have to gauge the health of your starter.
While timing is essential when it comes to feeding your starter, your senses can also provide valuable clues about its health. Look for signs of activity, such as bubbles, a tangy smell, and a slightly sweet taste. If your starter smells or tastes off, it may be time to discard it and start over.
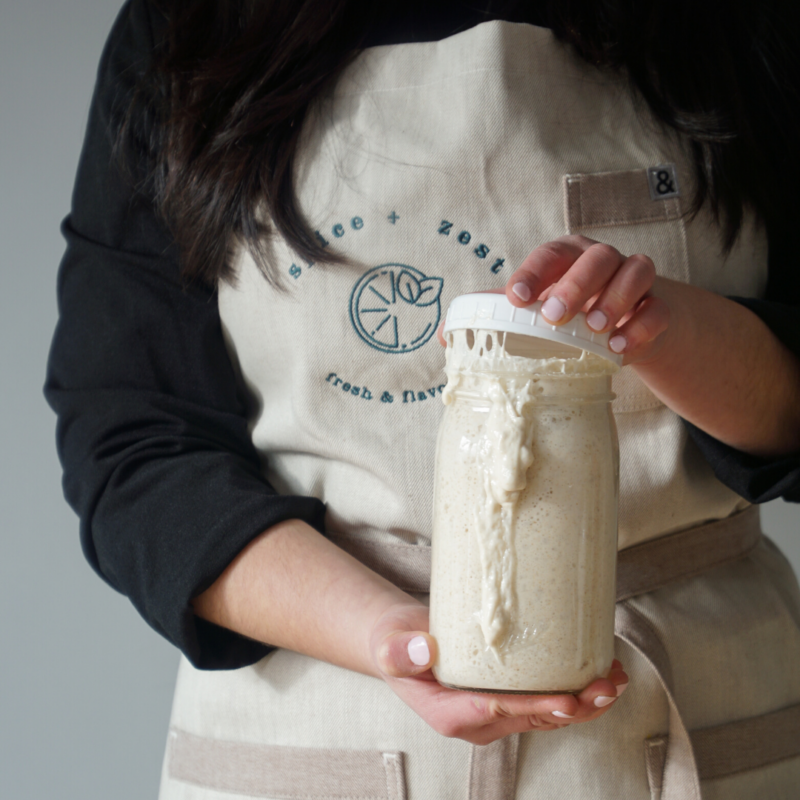
Sourdough Starter Tips
Now that we have the basics out of the way, here are some tips that will help you start and maintain your starter once and for all.
Use A Smaller Jar
If you’re tired of discarding excess starter during feeding, consider using a smaller jar. This way, you can feed your starter without creating too much excess. Plus, a smaller jar is easier to manage and store in your fridge.
Roll With The Punches
Don’t be discouraged by hiccups: Sourdough baking can be a finicky process, and it’s ok to start over if you have to. If you have any questions as you make your starter, let me know.
This is why I created my sourdough courses. I love helping beginners – like you – discover the joy of sourdough baking.
Final Thoughts
There you have it! This is everything you need to know about feeding, maintaining, and using your sourdough starter. Once you do this a few times, you’ll fall in love with the simplicity and joy of sourdough. It’s so much easier than you might think.
Troubleshooting FAQs
You may notice some water accumulating on the top of the starter, sometimes ranging in color from cloudy white to grey. This is called hooch and does not ruin your starter, simply pour it off and feed again.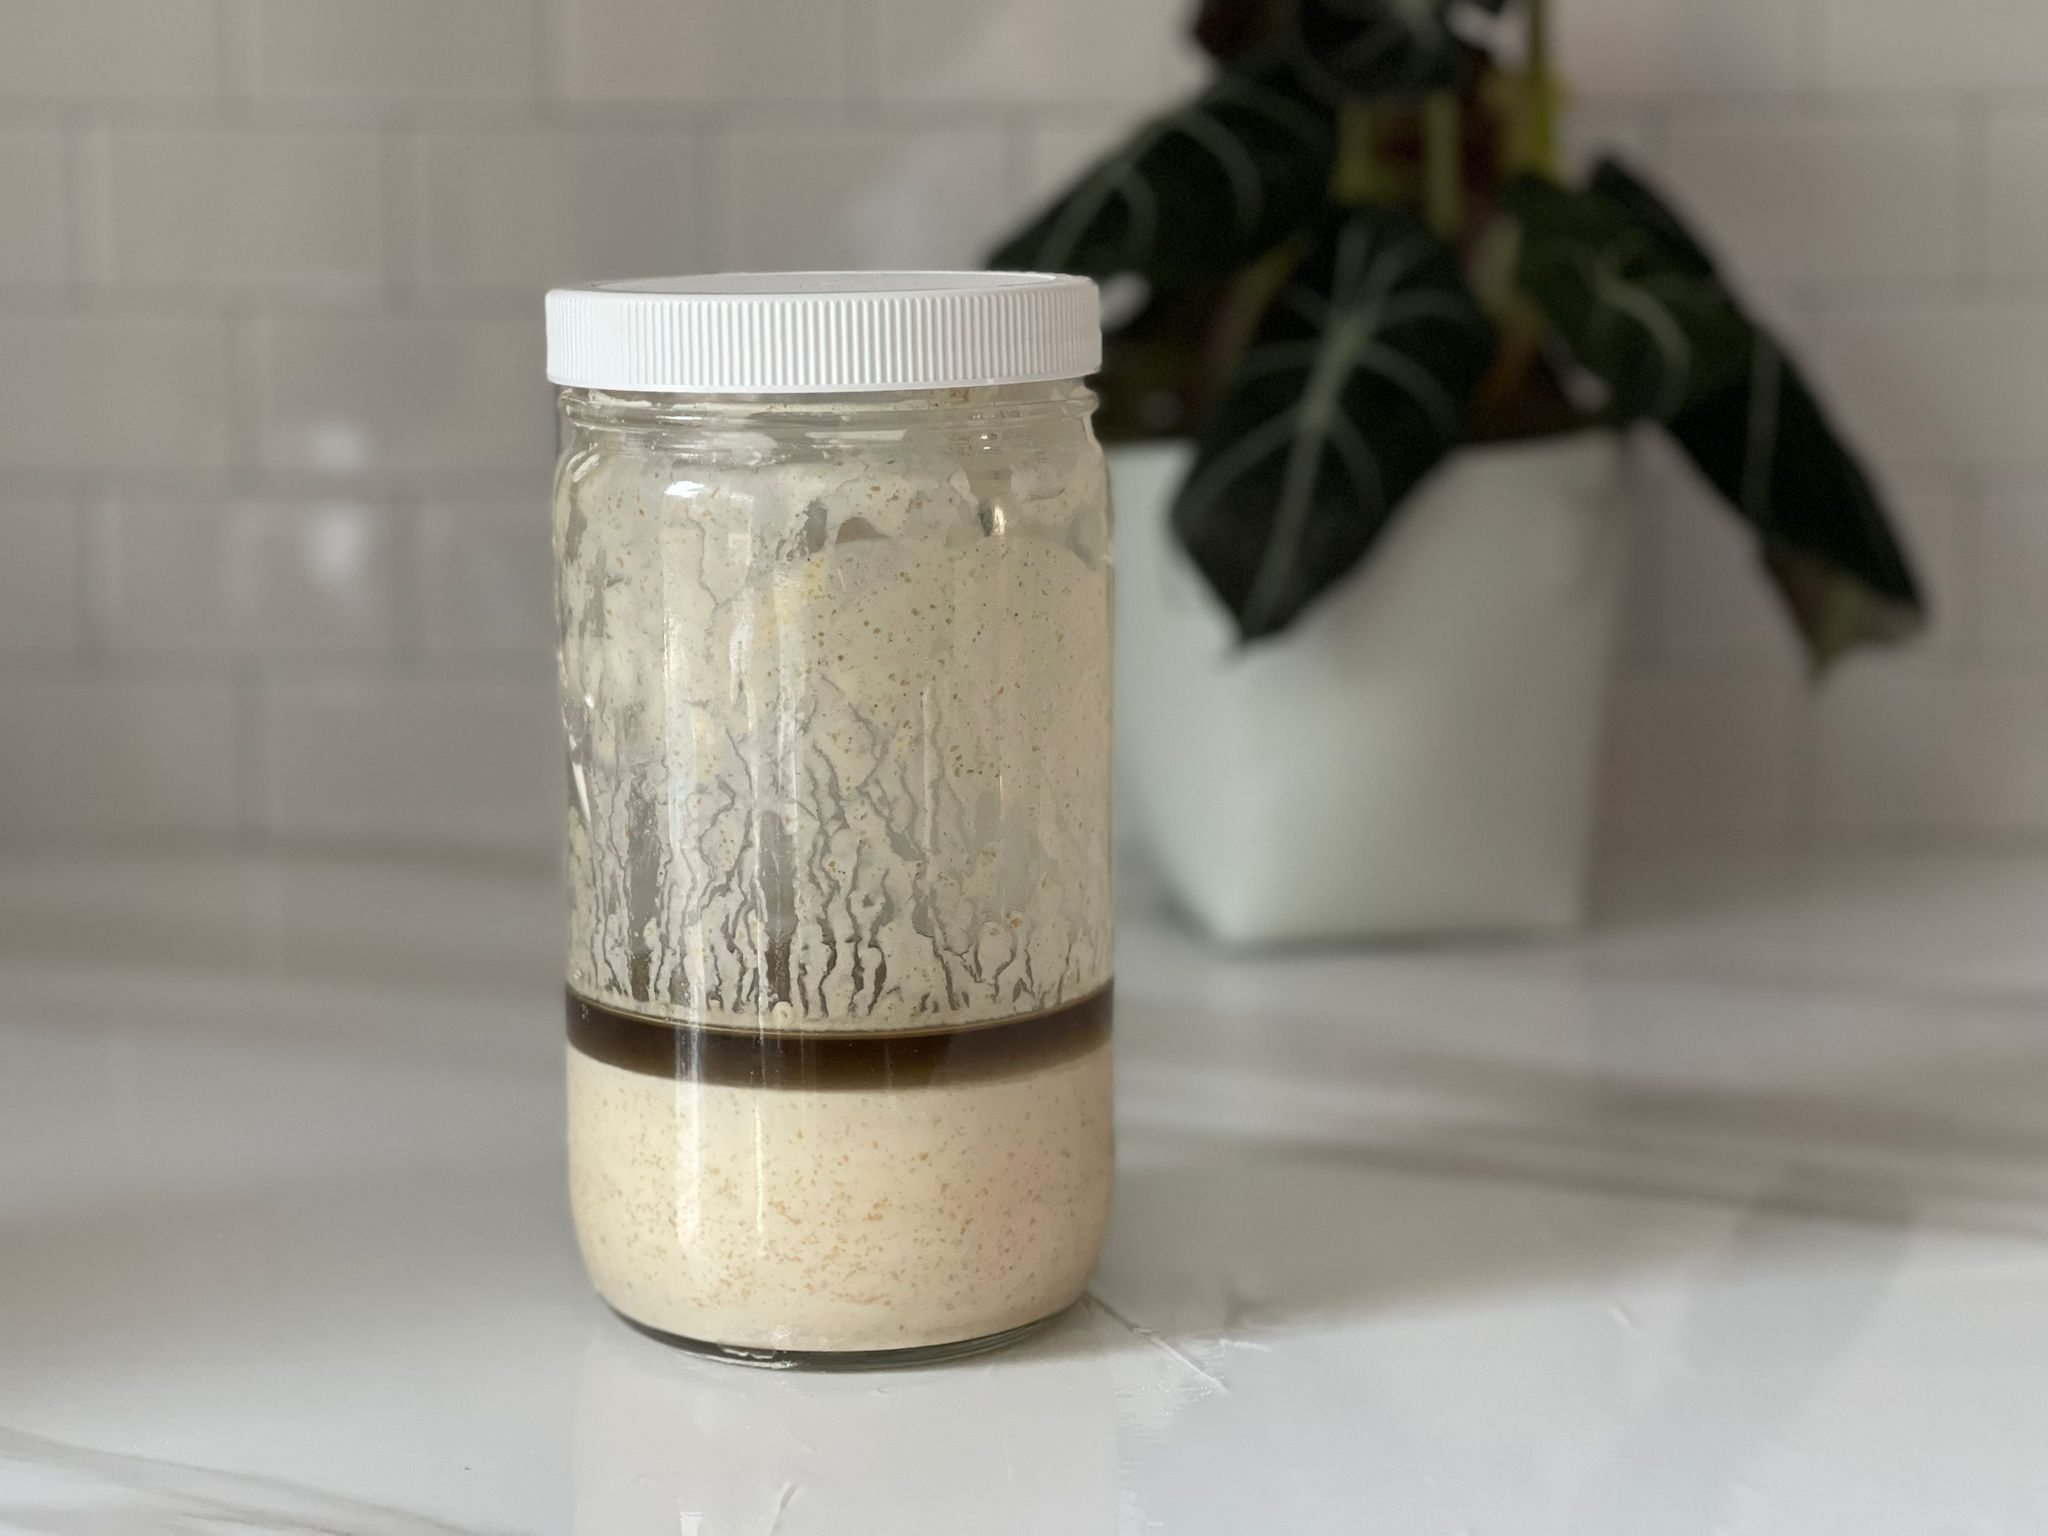
After feeding your starter there’s no activity it may be due to insufficient yeast or bacteria activity. This can happen if you leave too much of your old starter and/or if your starter was in the fridge for a long time.
Simply feed it 2-3 times and it will bounce back to life.
Consider adding a little more whole wheat flour as it contains more wild bacteria.
If your starter has a strong off putting smell, there is an imbalance between yeast and bacteria in your sourdough starter. This imbalance can contribute to a strong smell. Feed it 2-3 times to mellow out the odors.


 How To Start A Starter: Step-by-Step Instructions
Thank you.
I got your starter in a gift package.
What do you do about feeding the starter over shabbos?
You can leave it on the counter for 24 hours without feeding, only make sure it’s not in a very warm spot.
Can I make the starter on a Tuesday am and then make the levain on a wed am
Can the starter stay out for 24 hours b4 I use it?
Hi Molly,
I’m assuming by levain you mean fed starter ready to use for bread? If so then usually it deflates within 12-18 hours max, I would suggest you feed it 8-10 hours before you are ready to use it.
hi, if my recipe calls for 100 grams starter and i take 50 grams flour and 50 grams water + 1-2 T starter, and i let it activate for 6-8 hours, isnt it gonna be more than 100 grams? and if i keep feeding it 40 and 40… does that mean my jar only has enough for 1 loaf of bread?
Hi Rivky,
You always want to have a little left over starter so you can put it away for next time.. When the starter is active you take off 100g for the recipe and put away the rest for next time..
When the starter is active it doubles in size but still remains the same weight since its full of air bubbles… So you are still left with the same 100g+ 1-2 Tbs..
I’m not sure I understand your last question, the instructions for feeding 40g is to rehydrate a dry starter or create a new starter…
I mistakenly added regular flour (not high gluten) to my starter and it came out a bit funnier than usual. Will my Sourdough bread still come out good?
It should still come out just fine! Using regular flour for one feeding may change the texture of the starter a bit — it might look a little looser or have smaller bubbles — but it won’t ruin your bread. The starter is still active and usable. Just go back to your usual feeding routine with your regular flour, and it’ll bounce right back.
Hi! Thanks for being the encouraging force behind my sourdough endeavor.
Your instructions and directions are clear & concise , informative, and most of all encouraging!
Thank you so much, Chaya, for this feedback! It means the world to me! It’s messages like these that inspire me to continue sharing my passion for sourdough baking. Happy baking, and feel free to reach out if you have any more questions or need further guidance!
Thanks everything is so clear! If I want to make 4 or more breads what ratio do I use when feeding my starter?
Hi Esther,
If your starter is strong, you can use the same feeding ratio for 4 loaves. However, if you want to be on the safe side, you can leave a bit more of the existing starter. Happy baking!
HI. is it okay to switch up the ratio when feeding your sourdough, to accommodate a different recipe?
i am a beginner and still experimenting. (my first two batches failed) the starter i am using from a friend, was always fed with 80 water 100 flour, but i would like to try the 1:1 ratio.
Yes — it’s totally fine to adjust the ratio when feeding, especially to fit your recipe or schedule. A 1:1 ratio (equal flour and water by weight) is very common and works well. Just keep in mind that switching ratios may slightly change how fast your starter rises, so watch how it behaves. And don’t worry — experimenting is part of the process!
thank you so much for your clear instructions!! so easy to follow.
i fed my starter its been a few hours and there is a water at the bottom of the jar. is that hooch, or is hooch only at the surface of the starter?
what should i do?
thanks in advance!
I’m so happy to hear the instructions were easy to follow! 😊 The liquid you’re seeing at the bottom could be hooch—hooch can actually form on the top or the bottom of your starter. No big deal! Just transfer the starter to a clean jar, give it a good feeding, and mix everything well.
This was really helpful, especially with the pictures.
When in the cycle is it best to feed the starter, is it when it has just started to decline but is not back to its original size?
You can feed it anytime, don’t stress — it’s very forgiving!
Hi. Firstly thanks loads for your page and starter. My starter isn’t doubling in size. I don’t know how to maintain it. Once I take off the 100 starter I put the rest in the fridge till next week? Or do I feed it again 40 g?
It depends how much starter you have left in the jar. If there’s enough that it won’t dry out while sitting in the fridge, you don’t need to feed it again before storing. Just cover loosely and refrigerate until you’re ready to bake next time!
Which flour would you recommend for your starter? I got my fresh starter from you.
I like using a mix of whole wheat and any white high gluten flour, as long as it’s unbleached.
THank you for the amazing guidance! Ive been making sourdough now for almost half year. My sourdough was never so fluffy and full of bubbles and very crispy!!!!
If I use my starter every thursday and sometimes also on Sunday should I keep the starter out on the counter or keep putting it in and out of the fridge and take it out 12 hours before I want to use it?
Thank you so much for sharing — I love hearing how well your sourdough is doing!
In the cooler winter months, you can keep your starter on the counter and feed it daily from Wednesday through Sunday if you’re baking often. After that, you can store it back in the fridge.
During the hot summer months, it’s usually easier to keep your starter in the fridge full-time to avoid over-fermenting. Just pull it out Wednesday to feed before your Thursday bake, and again Saturday night if you plan to bake Sunday. This way your starter stays active, but still very low-maintenance.